GMC
Greater Midwest Classics
GMC
Greater Midwest Classics
By: Lee Lieder
Acknowledgement
Lee and Chuck have offered to share their experiences of stretching a GMC coach. We thank them for the opportunity to view a first hand account of doing this task, and also to Helen for providing the photos.
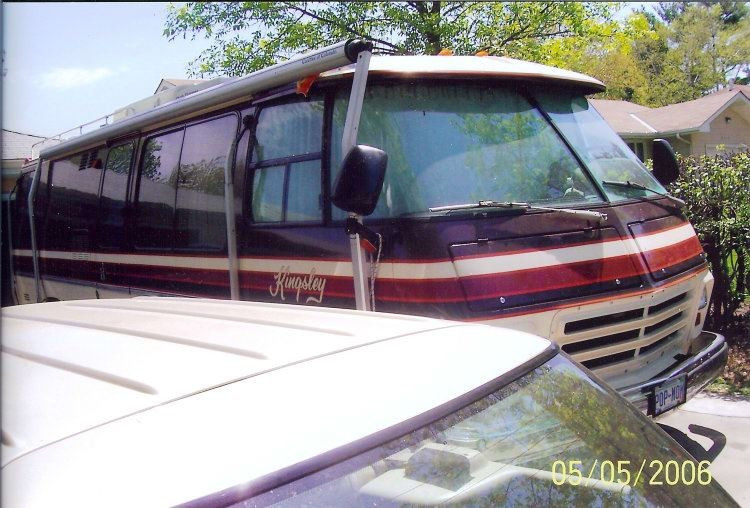
Lee and Helen have a very nice 1978 Kingsley coach. Lee helped his brother-in-law, Chuck, stretch his coach several years ago, and that improvement prompted Lee to stretch his coach this year. As with most projects, the second time around gives the opportunity for doing things somewhat different, resulting in some savings in time and labor. Their concern for details and quality workmanship results in a highly finished product.
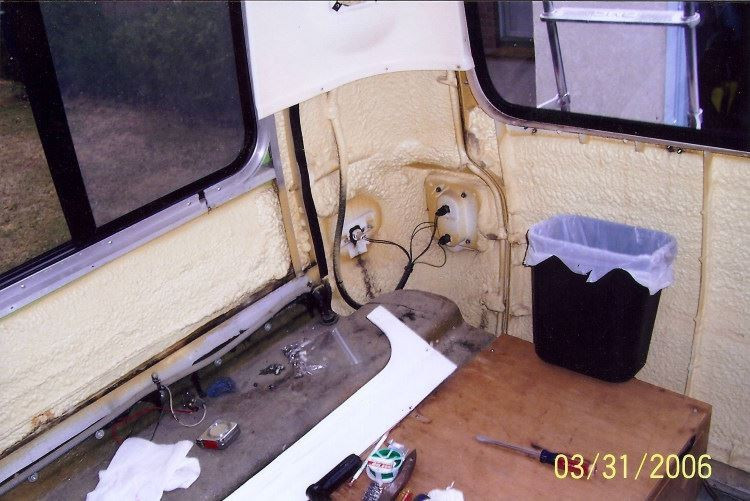
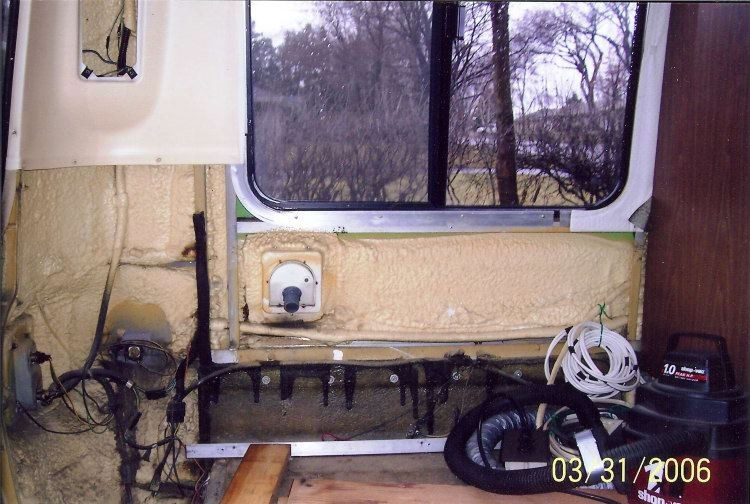
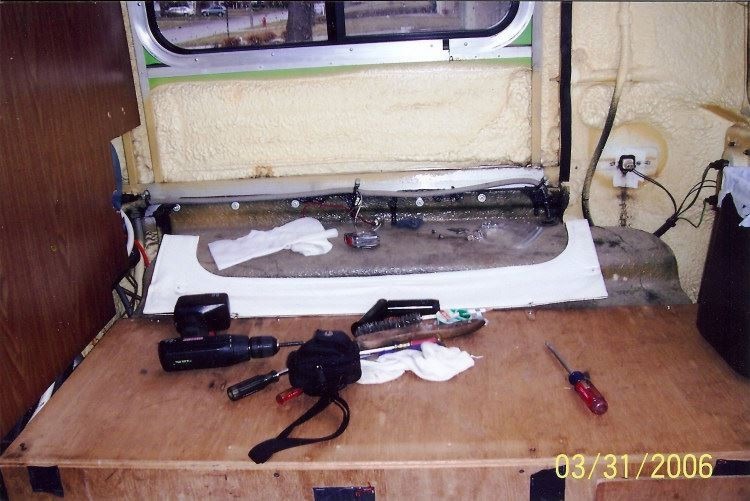
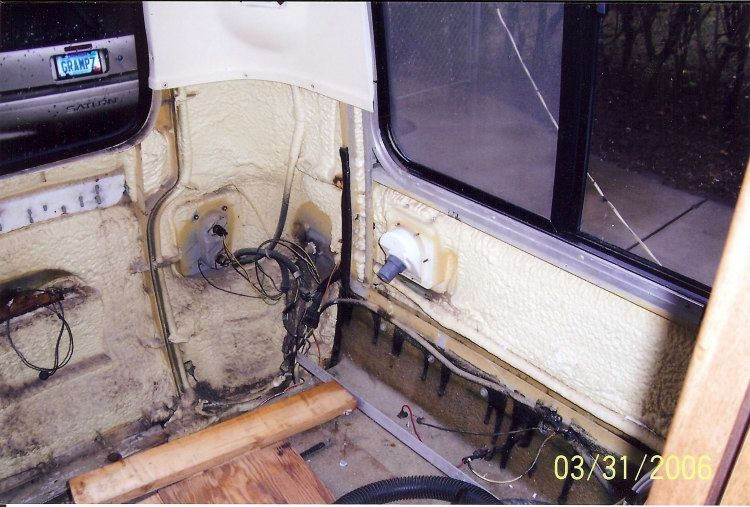
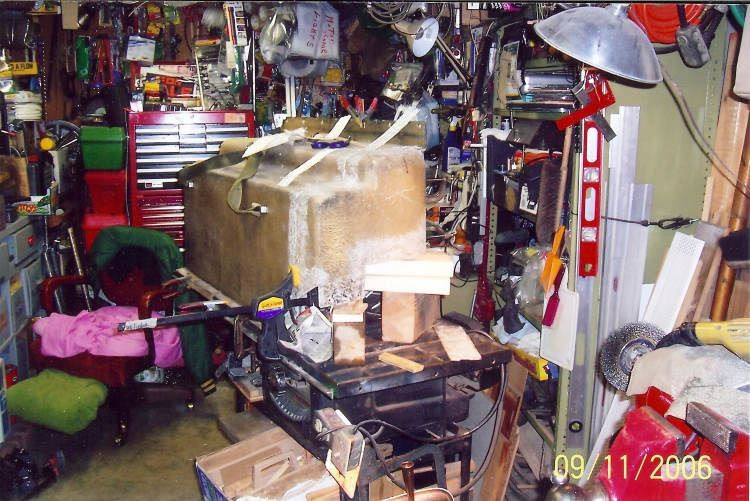
Where do you start? First of all, the furnishings and the interior in the back of the coach needs to be removed or placed out of the way for the cutting of the body sheets and the support members. This includes all electrical, plumbing, head liner, windows, etc. These pictures show the progress of stripping the interior of the coach, in preparation for doing the cutting of the rear section of the coach. This coach has the rear bedroom, with the generator and battery compartment, the LP tank compartment and the coach water tank underneath the bed.
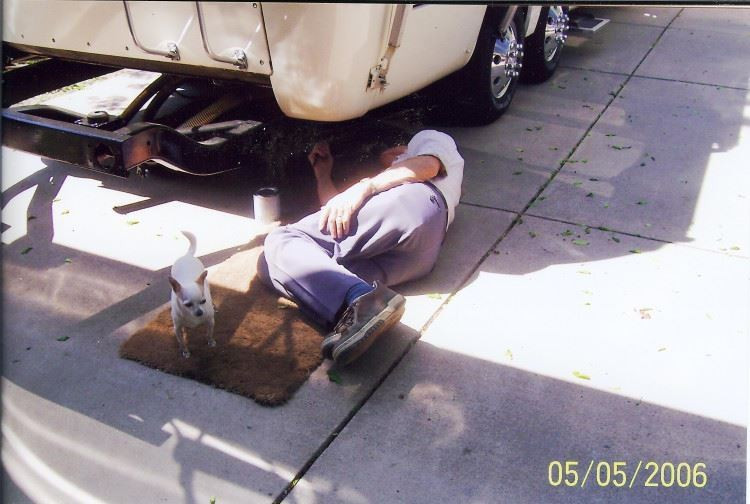
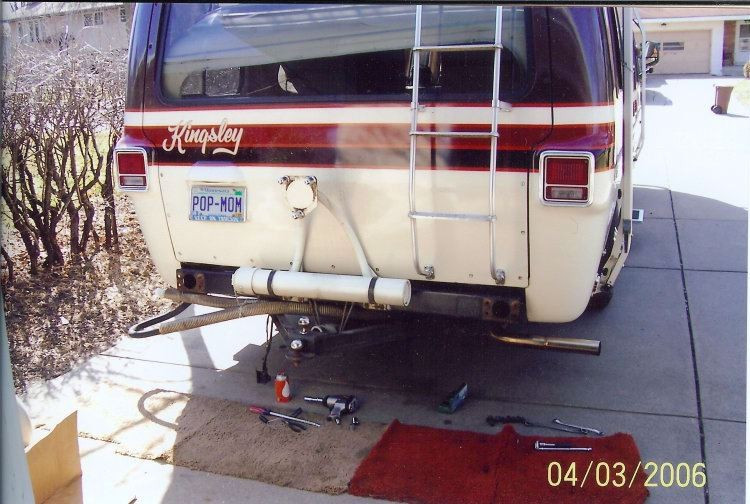
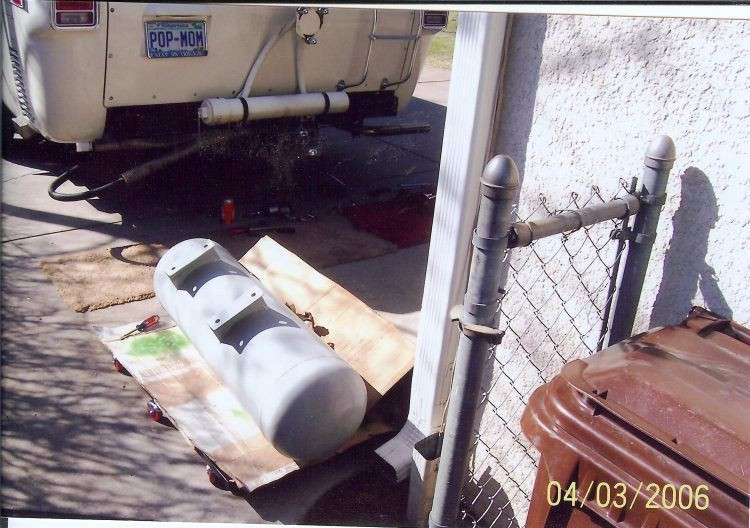
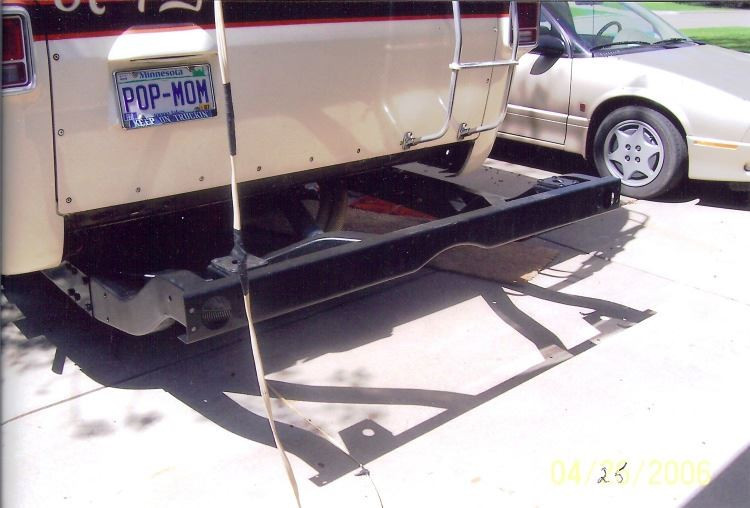
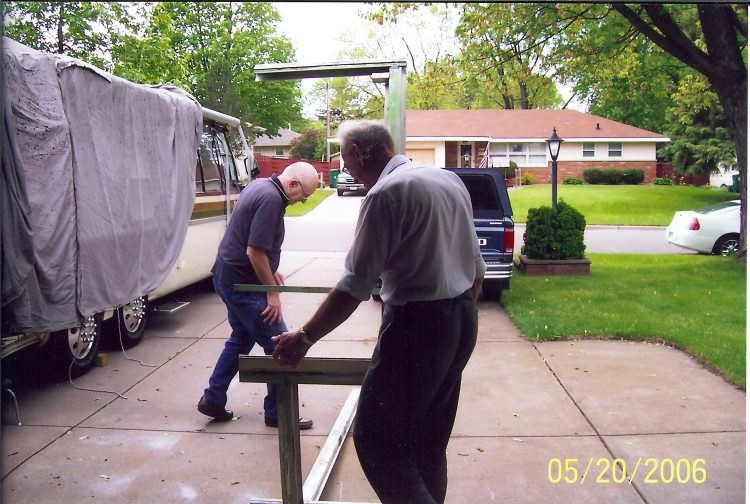
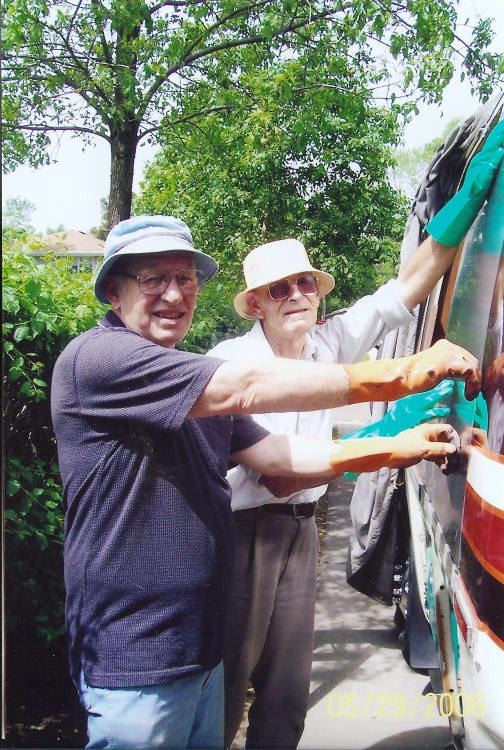
Now it is time to go to the outside of the coach and prepare it for extending the frame. The bumper comes off, along with all the accessories such as the spare tire holder, the trailer hitch, sewage hose holder etc. The frame extension was fabricated to fit, holes were drilled as needed, and was bolted onto the coach frame, making a very rigid assembly. Note the two flat pads on the top of the extended rear section, just ahead of the frame cross member. This is where the rubber cushions go that support the rear of the body to the frame. The LP tank was removed and painted, and it was decided to just move the awning forward, temporarily out of the way, instead of completely removing it.
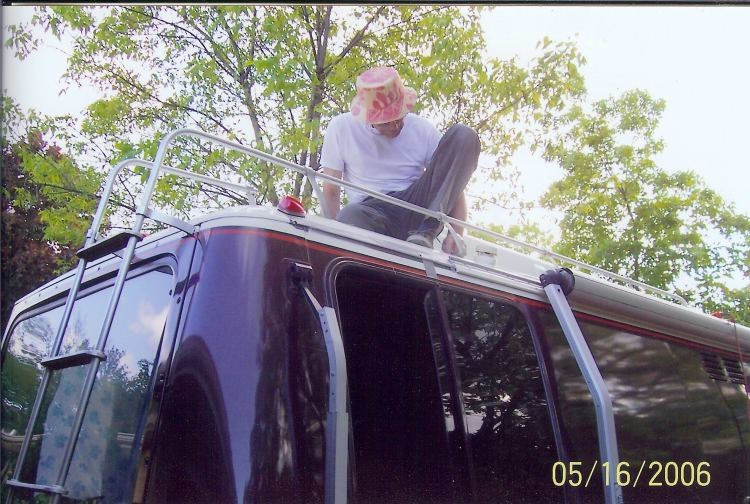
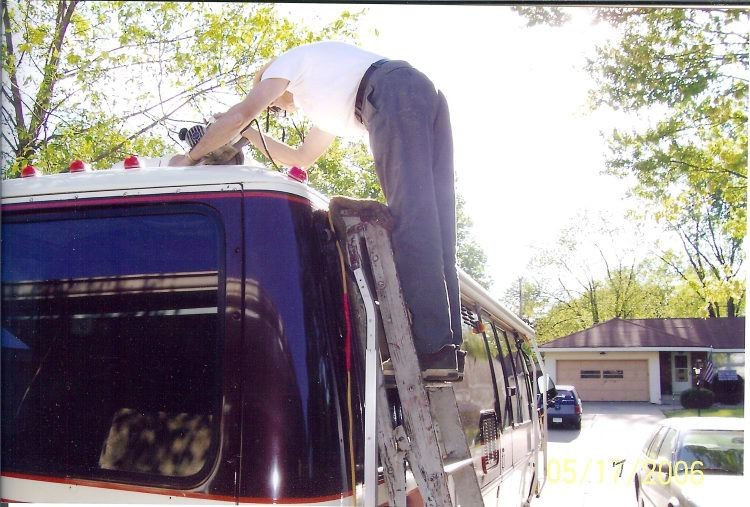
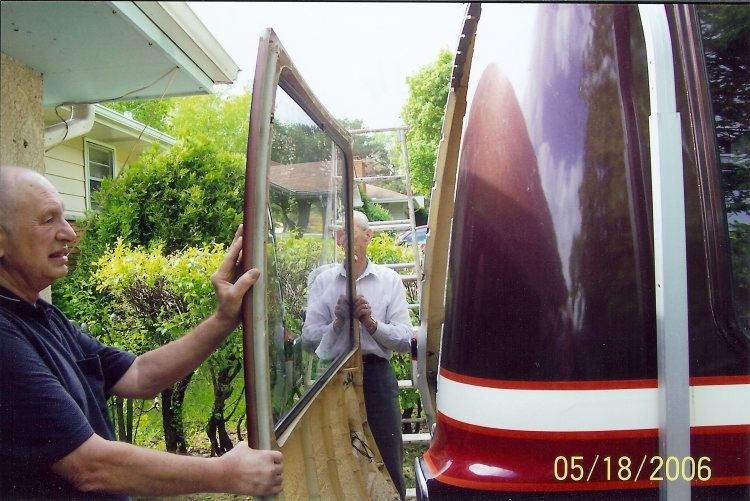
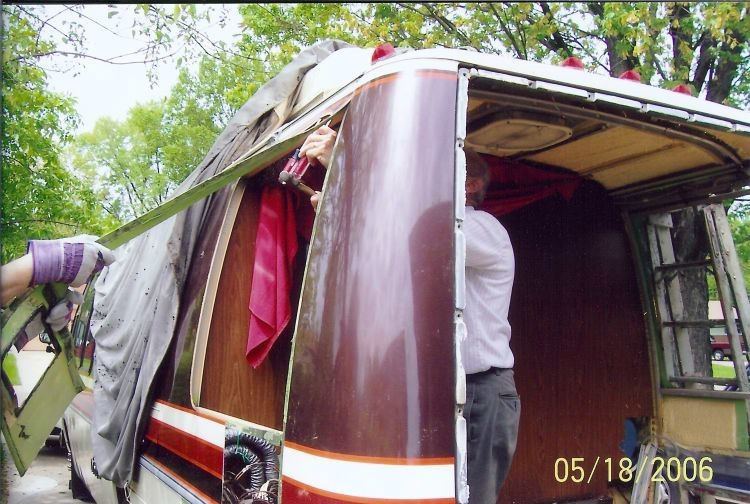
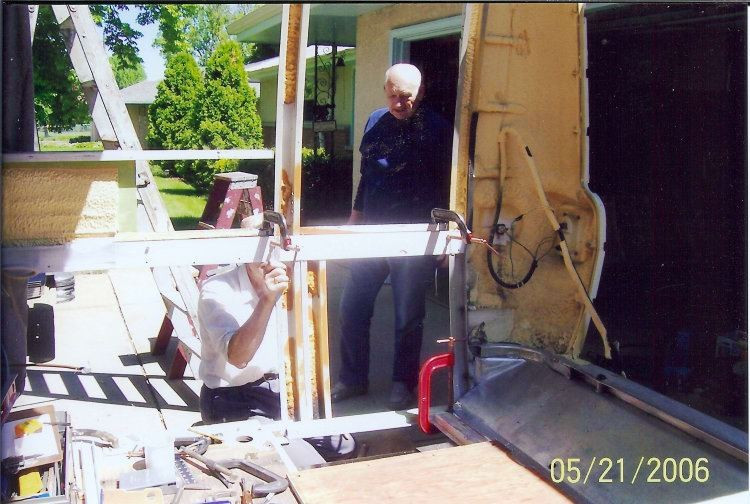
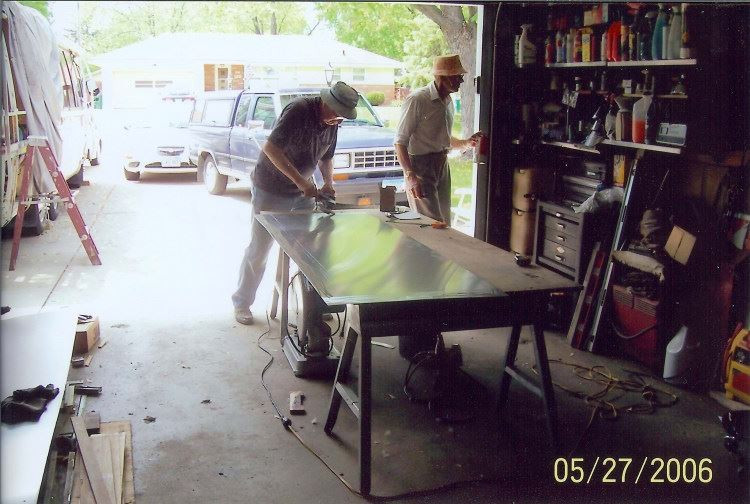
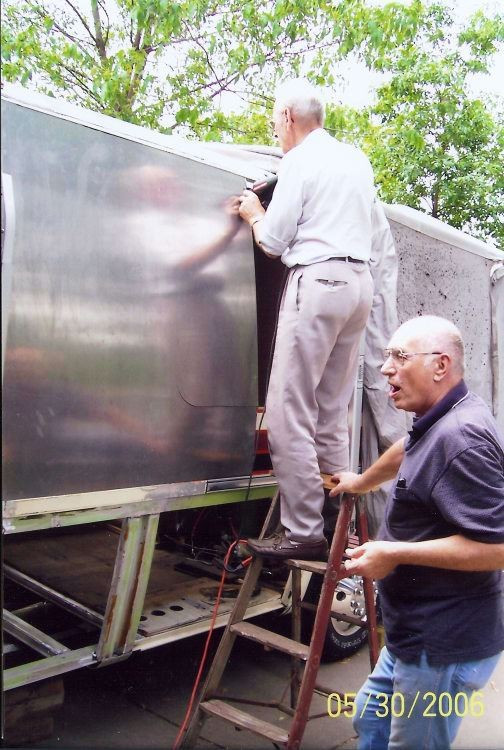
The rear ladder and the roof rack is going to be removed next. Also, the rivets on the roof that hold the rear cap to the roof cross member are being removed. This will allow for the removal of the rear cap, and will also make for a smoother surface when it is time to do the cut of the roof sheet. These series of photos show Lee making the first cut of the exterior skin. There is a cut below the side rear windows, on each side, and then a cut across the roof sheet. Once the cuts have been made, it shows Lee removing the screws that hold the rear door. These can be quite stubborn to remove sometimes.
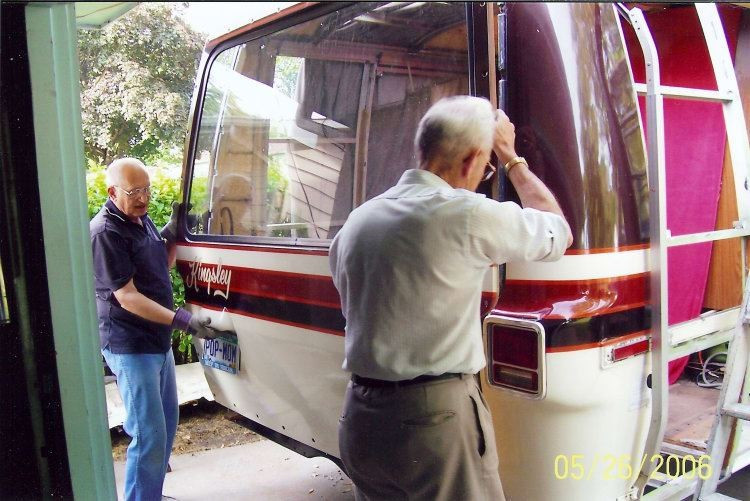
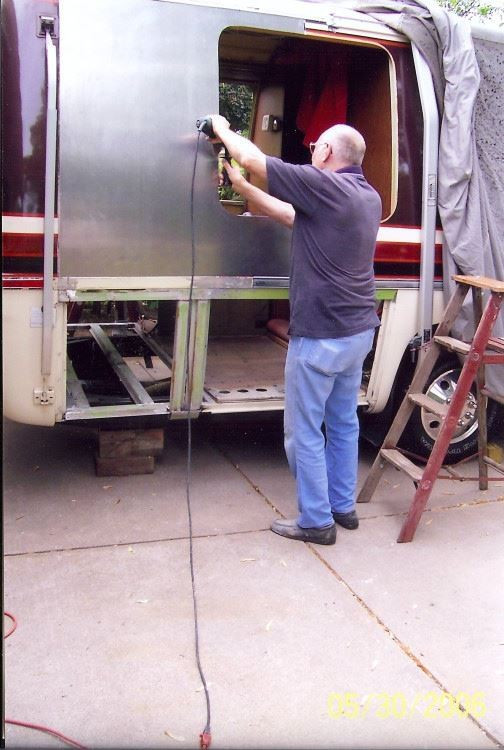
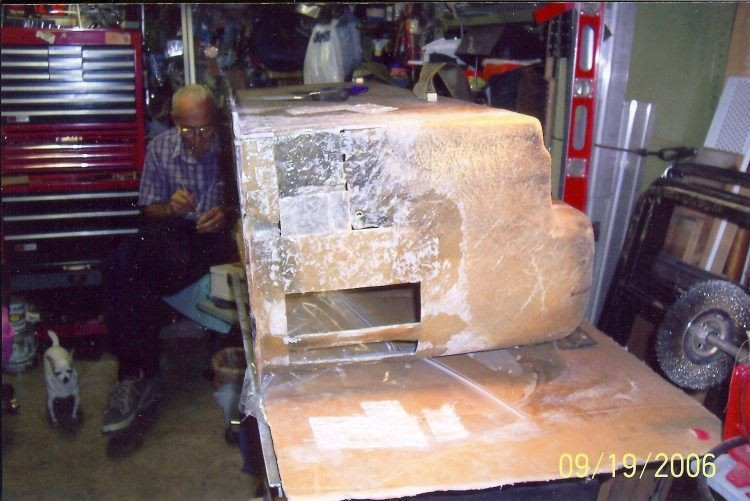
Here shows the rear door coming off. The cuts have been made in the exterior skin and now it is time to remove the original exterior skin. The skin was factory bonded with a very tough adhesive glue, and it takes some chipping and chiseling to get the skin loose from the body frame.
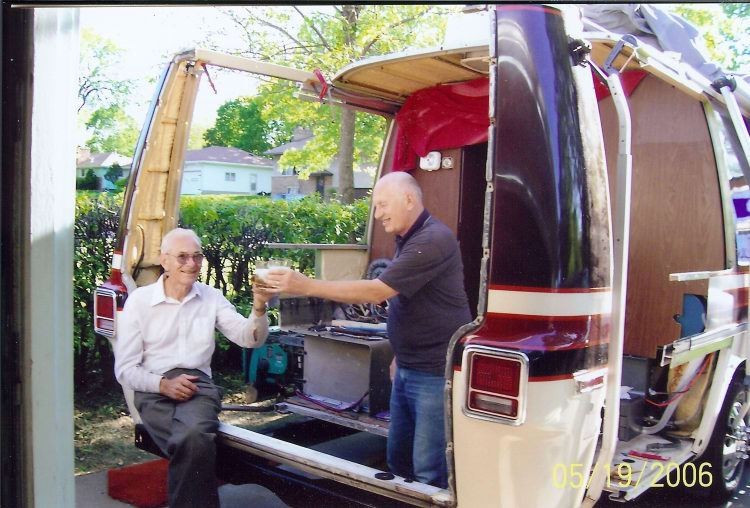
OK, the exterior skin has been removed and take a look at the first photo, it's time for a toast! The body struts have been cut and the rear section has been moved back to it's new location. Now it is time to bring in the body frame from a donor coach. This section will fill in where the rear section was moved back, and it is fitted and clamped and readied for the welder. Lots of measuring and re-measuring and double checking to see that all fits correctly and it is lined up correctly. Lee and Chuck are masters at doing this.
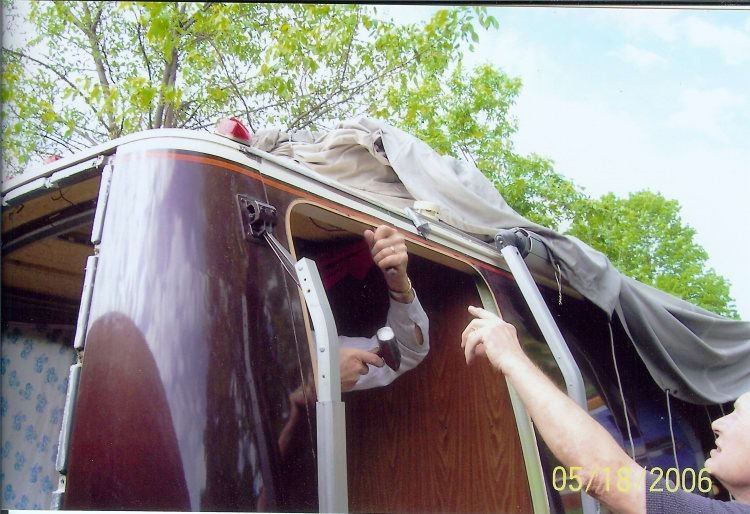
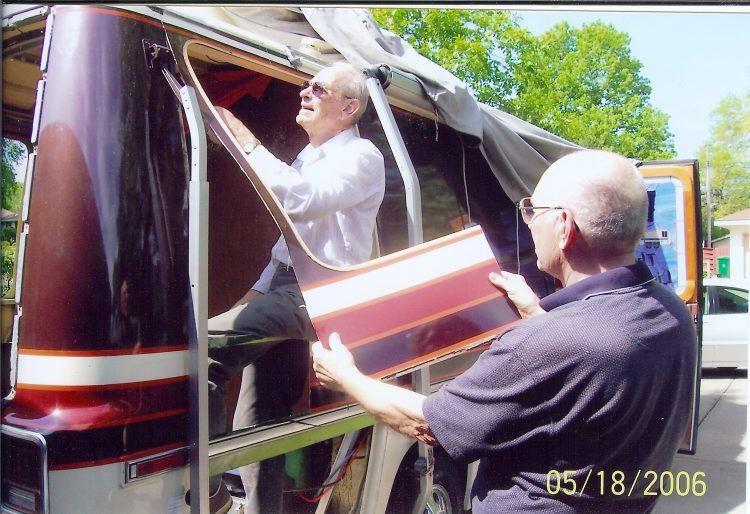
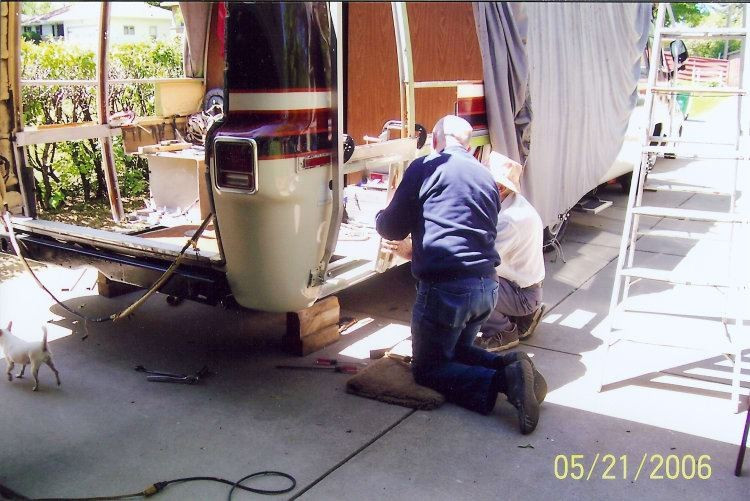
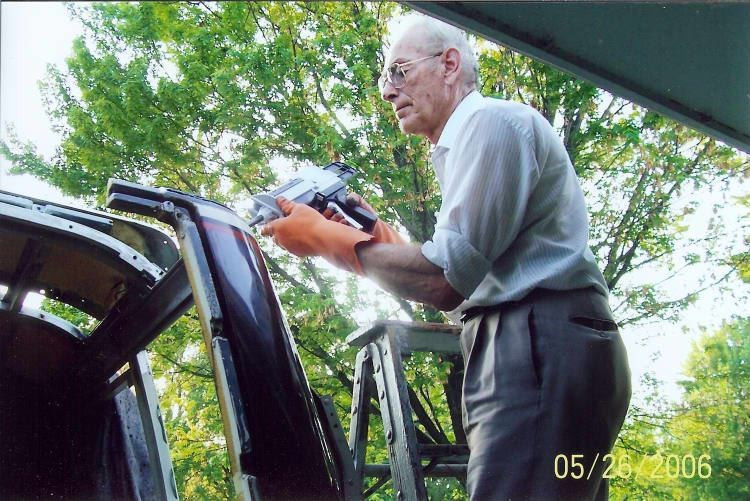
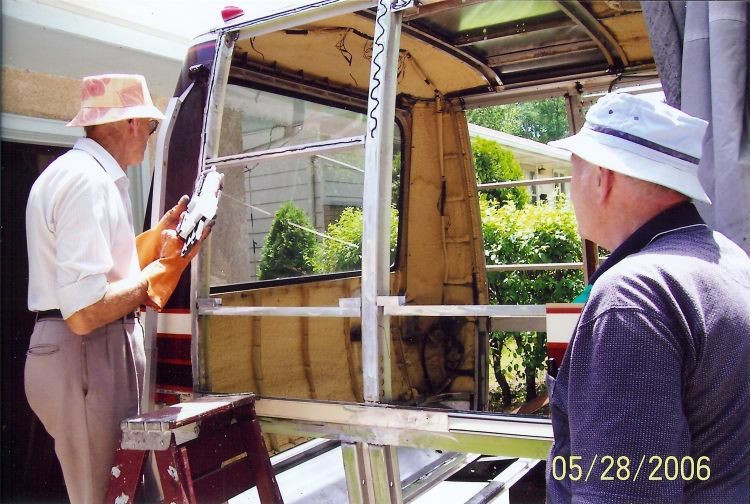
In the photo's below, they are cleaning up the rear roof cap to install next. You see that Lee has the 3M double barrel adhesive gun and is laying a bead of "snot" to fasten the rear roof cap. This is a two part adhesive, and it mixes as it is squeezed out the gun, very good stuff. Now the rear door can go back in, and they are getting a sheet of roof material ready to glue on the roof struts. In the last photo below, they are laying the new roof sheet, using the 3M adhesive to do the job.
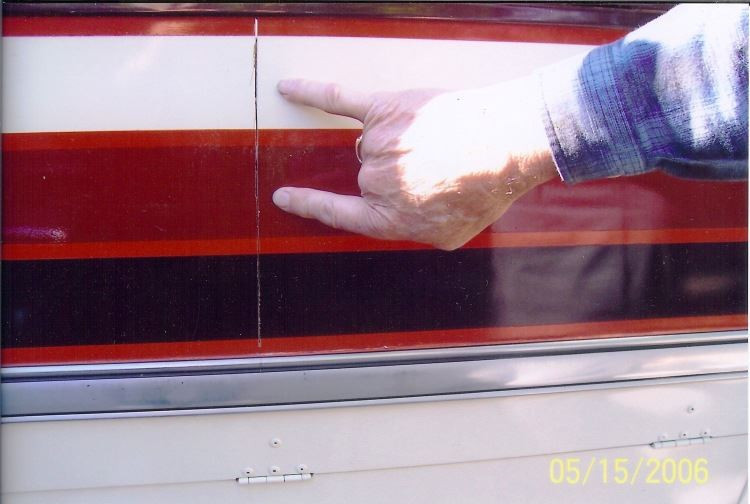
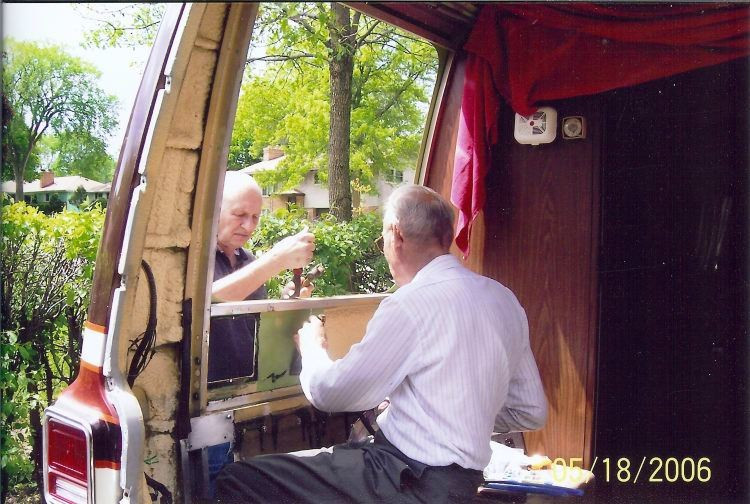
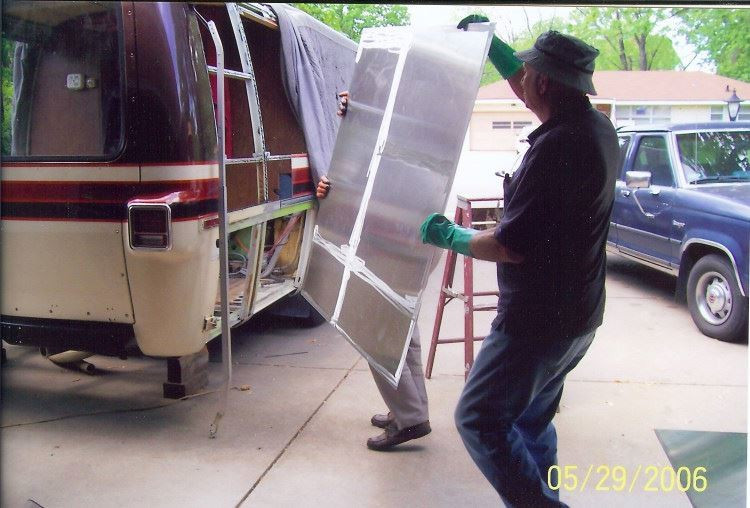
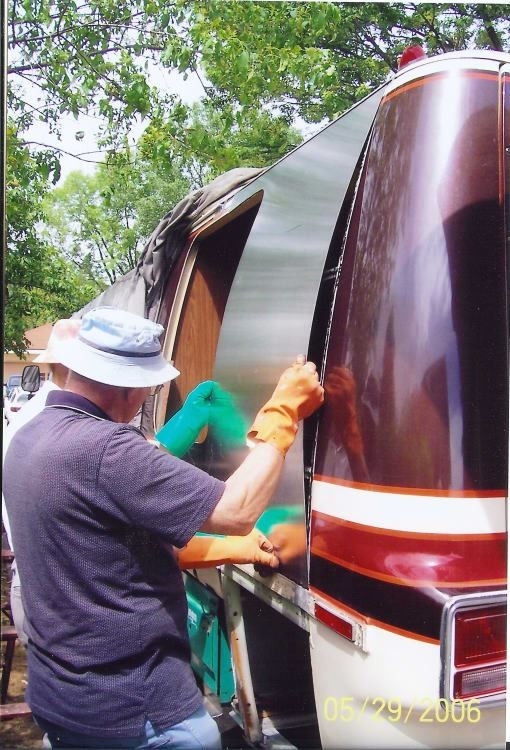
Now that the roof skin has been installed, it is time to start on the side sheets. You see that Lee is applying the 3M adhesive to the side bows and struts. The sheets get "dry fitted" numerous times to see that the clearances and the tolerances are correct, before applying the adhesive and attaching the sheet. The fourth photo show Lee and Chuck holding the sheet until the adhesive will hold it (or are they stuck to the sheet?). Then, in the next photo, Lee is cutting out the window opening, and Chuck is doing some final trim work on the side sheet, so they must have got loose from the sheet!
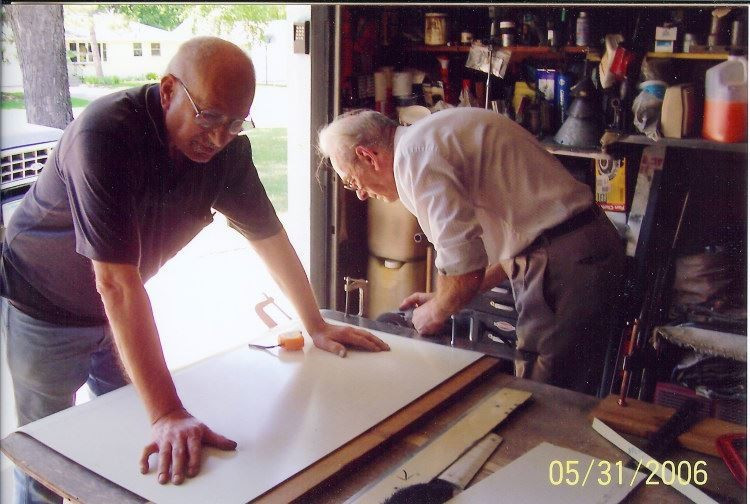
Now they are making the replacement doors for the lower compartments. The last photo below show Lee's Stretch coach on it's maiden voyage to the Midwest Classics rally in Kieler, WI. in July. Although there is still work to be done on the exterior, now comes the task for finishing the interior, but you can be assured it will be quality work when it is finished.
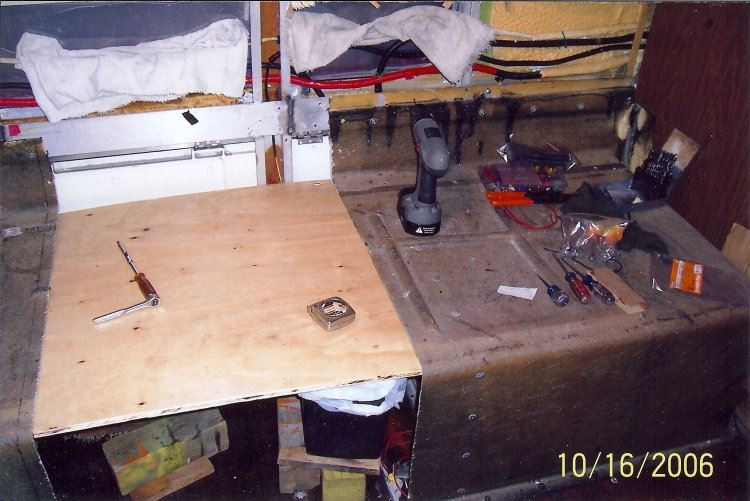
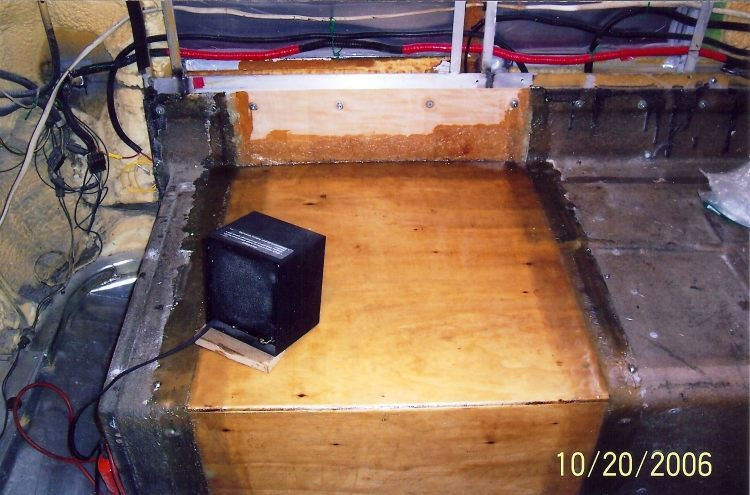
OK, it's time to start doing some inside work. The floor has to be filled in, where the stretch was done. Also, the generator compartment and the LP tank compartment have to be finished off. By doing the stretch, there is additional room for extra storage compartments, which will be accessed from the outside. These photo's show the floor being installed and closing off the generator compartment, and building the storage compartment on the left side of the coach.
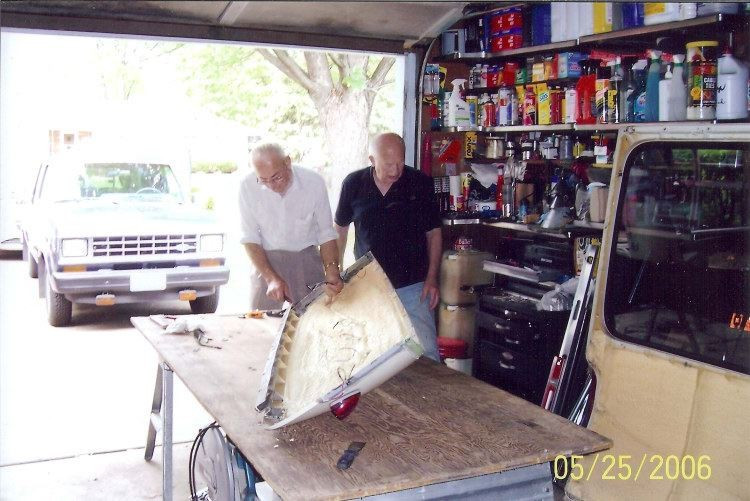
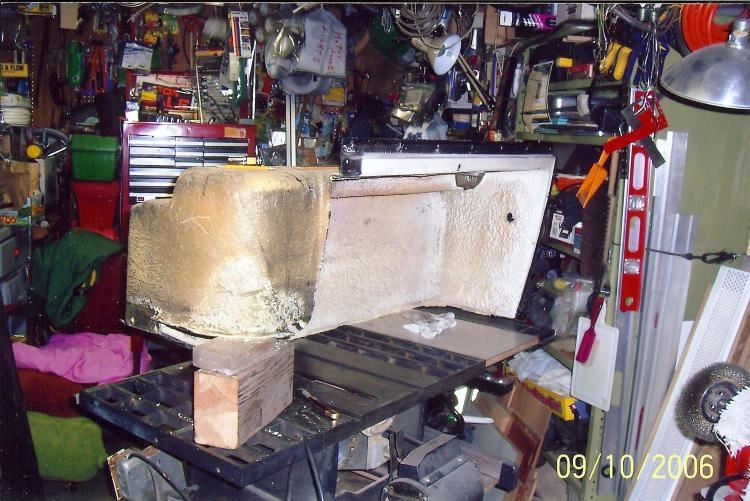
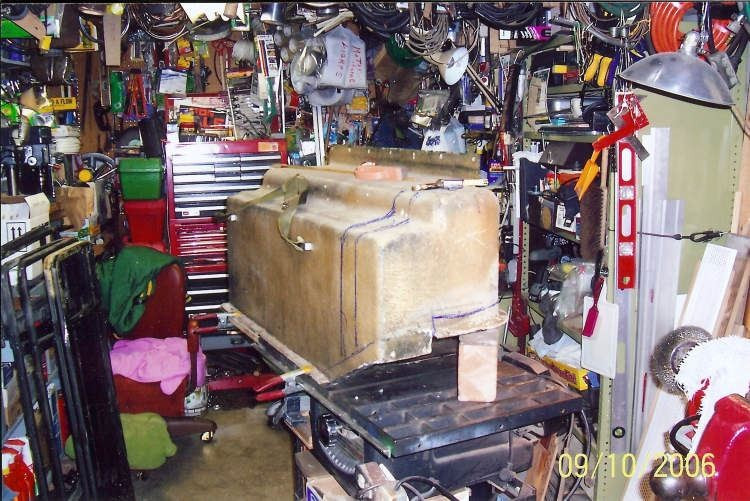
Now it is on to the LP compartment on the right side of the coach. Lee did extensive remodeling of the LP compartment, which will result in a better fit for the LP tank and also result in more storage room. Three inches of the original LP compartment liner was cut out of the body, leaving the butt end to be re-attached, forming the new LP compartment liner. This will result in a larger storage compartment on the right side of the coach, in the right rear corner. This is time consuming work, but the results are great, more room for storage.